> ## Documentation Index
> Fetch the complete documentation index at: https://flatfile.com/docs/llms.txt
> Use this file to discover all available pages before exploring further.
# Configure a submit Action
> create a simple submit Action to export your data
**Legacy Documentation**: This content is maintained for backward
compatibility and may not reflect the latest features or best practices. For
current documentation, please refer to our updated guides.
Inside your listener function, you can respond to any Event that occurs in the
environment you're listening to.
Your transformation and validation code is already responding to Record level
Events, but a listener can respond to any Event, like the
[Action](/core-concepts/actions) triggered by a button click.
Actions are defined in your Workbook Blueprint and backed by
[Jobs](/core-concepts/jobs) in your listener.
In this step of the tutorial, we're going to configure our Workbook's primary
Action, defined in our Blueprint as the `submitAction`.
## Adding behavior to the action
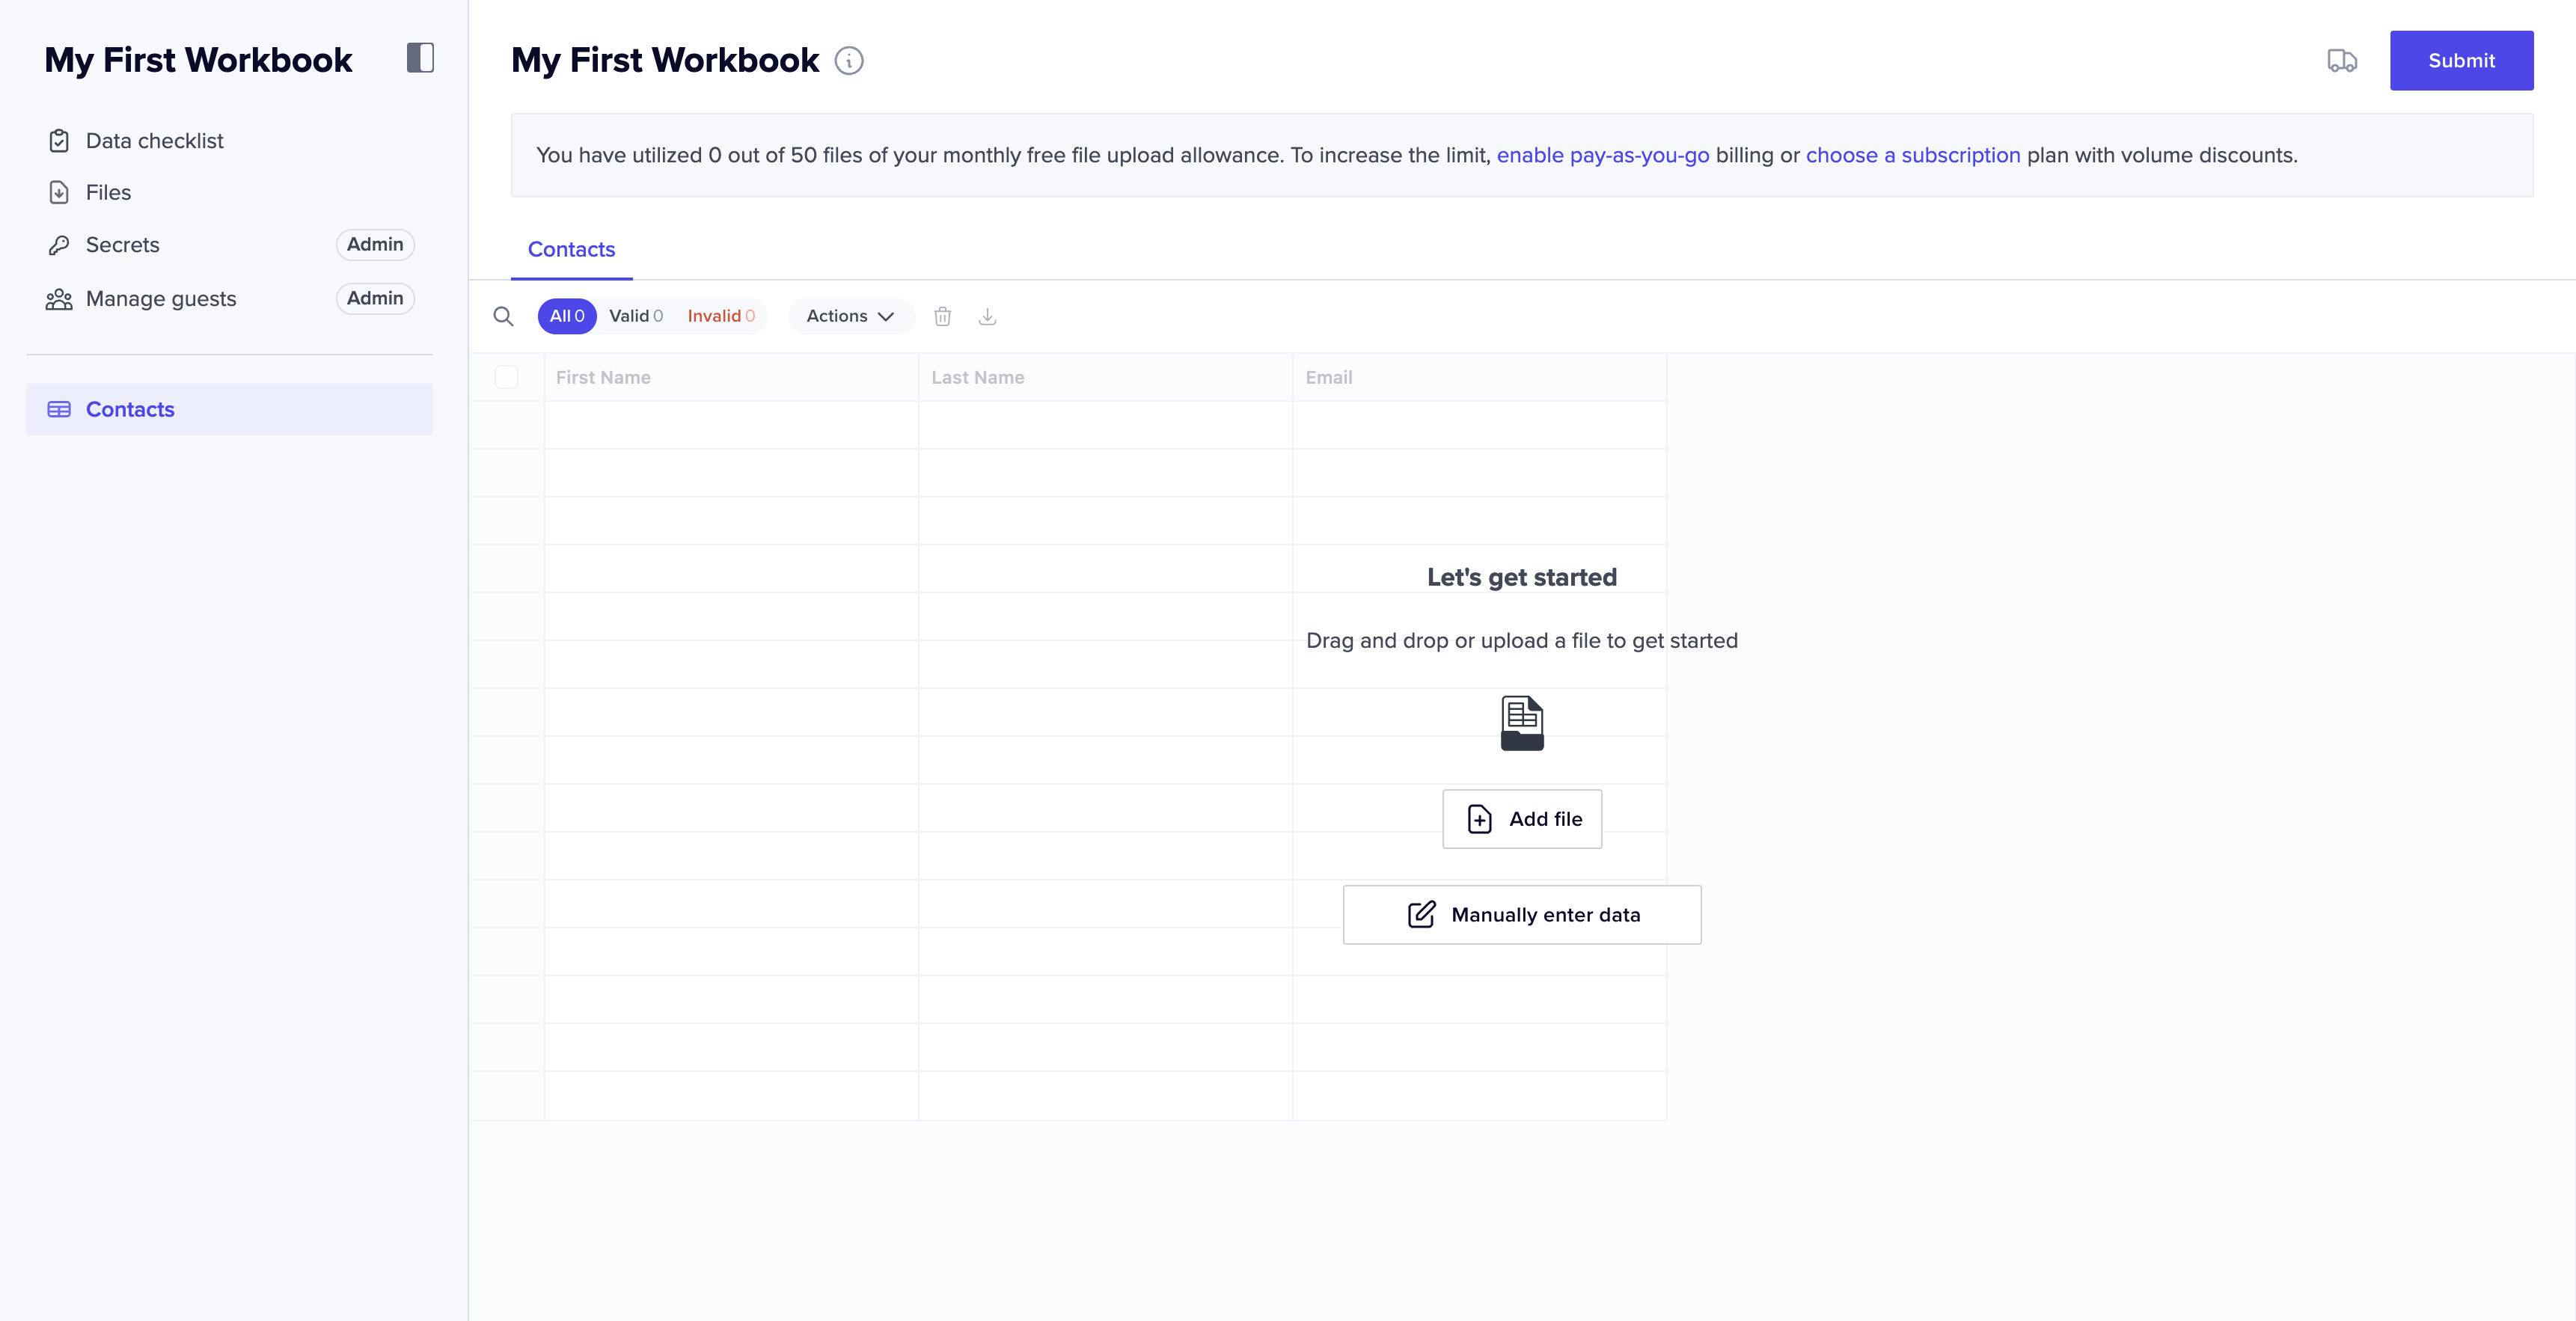
The primary Action button is located in the upper right corner of your Workbook.
 When this button is clicked by a user, a Job is created. We're going to listen
for that `job:ready` event, and call out to a waiting webhook to export our
data.
### Import addl packages
You'll need a few more packages to accomplish this task. Go ahead and import
them.
```js listener.js theme={null}
import api from "@flatfile/api";
import { responseRejectionHandler } from "@flatfile/util-response-rejection";
```
```js listener.ts theme={null}
import api from "@flatfile/api";
import type { FlatfileListener, FlatfileEvent } from "@flatfile/listener";
import { responseRejectionHandler } from "@flatfile/util-response-rejection";
```
### Call a webhook
To configure our listener to call to a webhook, let's create a webhook. We
recommend using [Webhook.site](https://webhook.site). Simply navigate to their
site and copy `Your unique URL`.
Now, update the value of the `const webhookReceiver` variable in your `index.ts`
or `index.js` file with the webhook url you just copied.
### Watch your Action
Check your listener is still running. If not, run `npx flatfile@latest develop`.
Now, in your Workbook click the "Submit" button in the top right corner.
Over on your Webhook.site browser tab look at the query log and observe that the
webhook received a call; this is the Action running.
***
## Next steps
Congratulations! You now now have an example listener that is performing
transformations and validations in response to changes in your Workbook, and
you've set up an action to export your cleaned data.
You've been running this listener locally while in development. Next, let's see
how easy it is to [Deploy to Flatfile](/legacy-docs/tutorials/projects/deploying).
When this button is clicked by a user, a Job is created. We're going to listen
for that `job:ready` event, and call out to a waiting webhook to export our
data.
### Import addl packages
You'll need a few more packages to accomplish this task. Go ahead and import
them.
```js listener.js theme={null}
import api from "@flatfile/api";
import { responseRejectionHandler } from "@flatfile/util-response-rejection";
```
```js listener.ts theme={null}
import api from "@flatfile/api";
import type { FlatfileListener, FlatfileEvent } from "@flatfile/listener";
import { responseRejectionHandler } from "@flatfile/util-response-rejection";
```
### Call a webhook
To configure our listener to call to a webhook, let's create a webhook. We
recommend using [Webhook.site](https://webhook.site). Simply navigate to their
site and copy `Your unique URL`.
Now, update the value of the `const webhookReceiver` variable in your `index.ts`
or `index.js` file with the webhook url you just copied.
### Watch your Action
Check your listener is still running. If not, run `npx flatfile@latest develop`.
Now, in your Workbook click the "Submit" button in the top right corner.
Over on your Webhook.site browser tab look at the query log and observe that the
webhook received a call; this is the Action running.
***
## Next steps
Congratulations! You now now have an example listener that is performing
transformations and validations in response to changes in your Workbook, and
you've set up an action to export your cleaned data.
You've been running this listener locally while in development. Next, let's see
how easy it is to [Deploy to Flatfile](/legacy-docs/tutorials/projects/deploying).