> ## Documentation Index
> Fetch the complete documentation index at: https://flatfile.com/docs/llms.txt
> Use this file to discover all available pages before exploring further.
# Getting Started with AutoBuild
> Get up and running with Flatfile in minutes using AutoBuild to create a complete data import solution
## What is AutoBuild?
The easiest way to get started with Flatfile is using AutoBuild.
With AutoBuild, you can transform existing import templates or documentation into a fully
functional Flatfile app in minutes. Simply drop your example files into AutoBuild, and it will automatically create and deploy a [Blueprint](/core-concepts/blueprints) (for schema definition) and a [Listener](/core-concepts/listeners) (for validations and transformations) to your Flatfile [App](/core-concepts/apps).
Once you've started with AutoBuild, you can always download your Listener code and continue building with code from there!
## Setting Up Your Account
To get started, you'll need to [sign up for a Flatfile account](https://platform.flatfile.com/oauth/login).
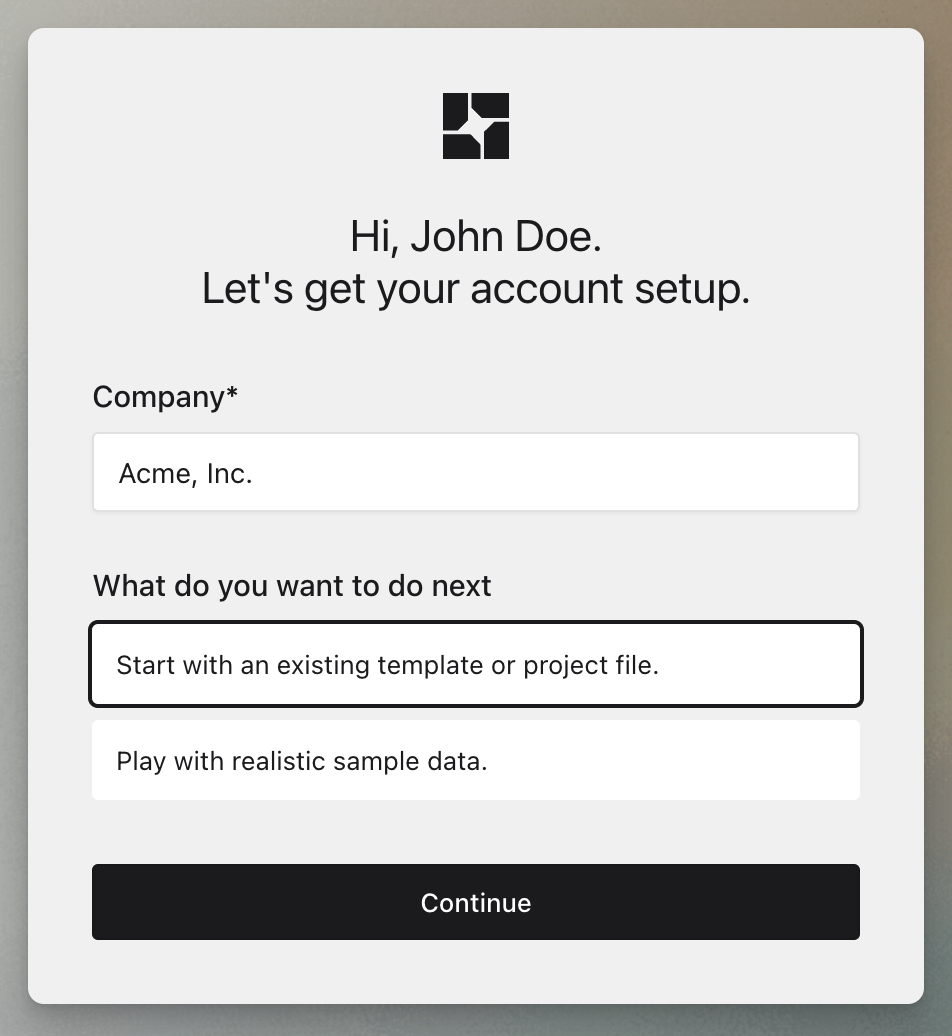
During account setup, enter your company name and select "Start with an existing template or project file."
 If you already have an active Flatfile account, you can still use AutoBuild to create a new app.
From the Flatfile dashboard, click the "New App" button.
If you already have an active Flatfile account, you can still use AutoBuild to create a new app.
From the Flatfile dashboard, click the "New App" button.
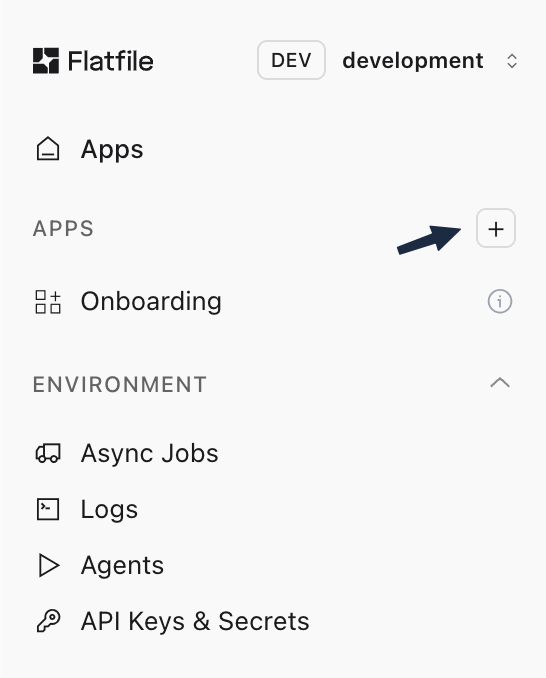 Then select "Build with AutoBuild."
If the AutoBuild option isn't available on your account, please reach out to
support via [Slack](https://flatfile.com/join-slack/) or
[Email](mailto:support@flatfile.com) to gain access!{" "}
## Uploading Files and Context
Next, you'll upload files and provide additional context to the AutoBuild agent.
You can upload any of the following to help the AI understand your requirements:
* Import templates
* System documentation
* Complete data files
* Any other files that provide useful context
You may also provide an additional prompt to guide the AutoBuild agent. Use this to give
context about your uploaded files, explain specific data challenges, or outline additional requirements.
When you're ready, click "Get Started." The Flatfile AutoBuild agent will now build your space template.
## Working in Build Mode
After a few moments, you'll be taken to your new Flatfile app in Build Mode, which you can
access anytime to make changes.
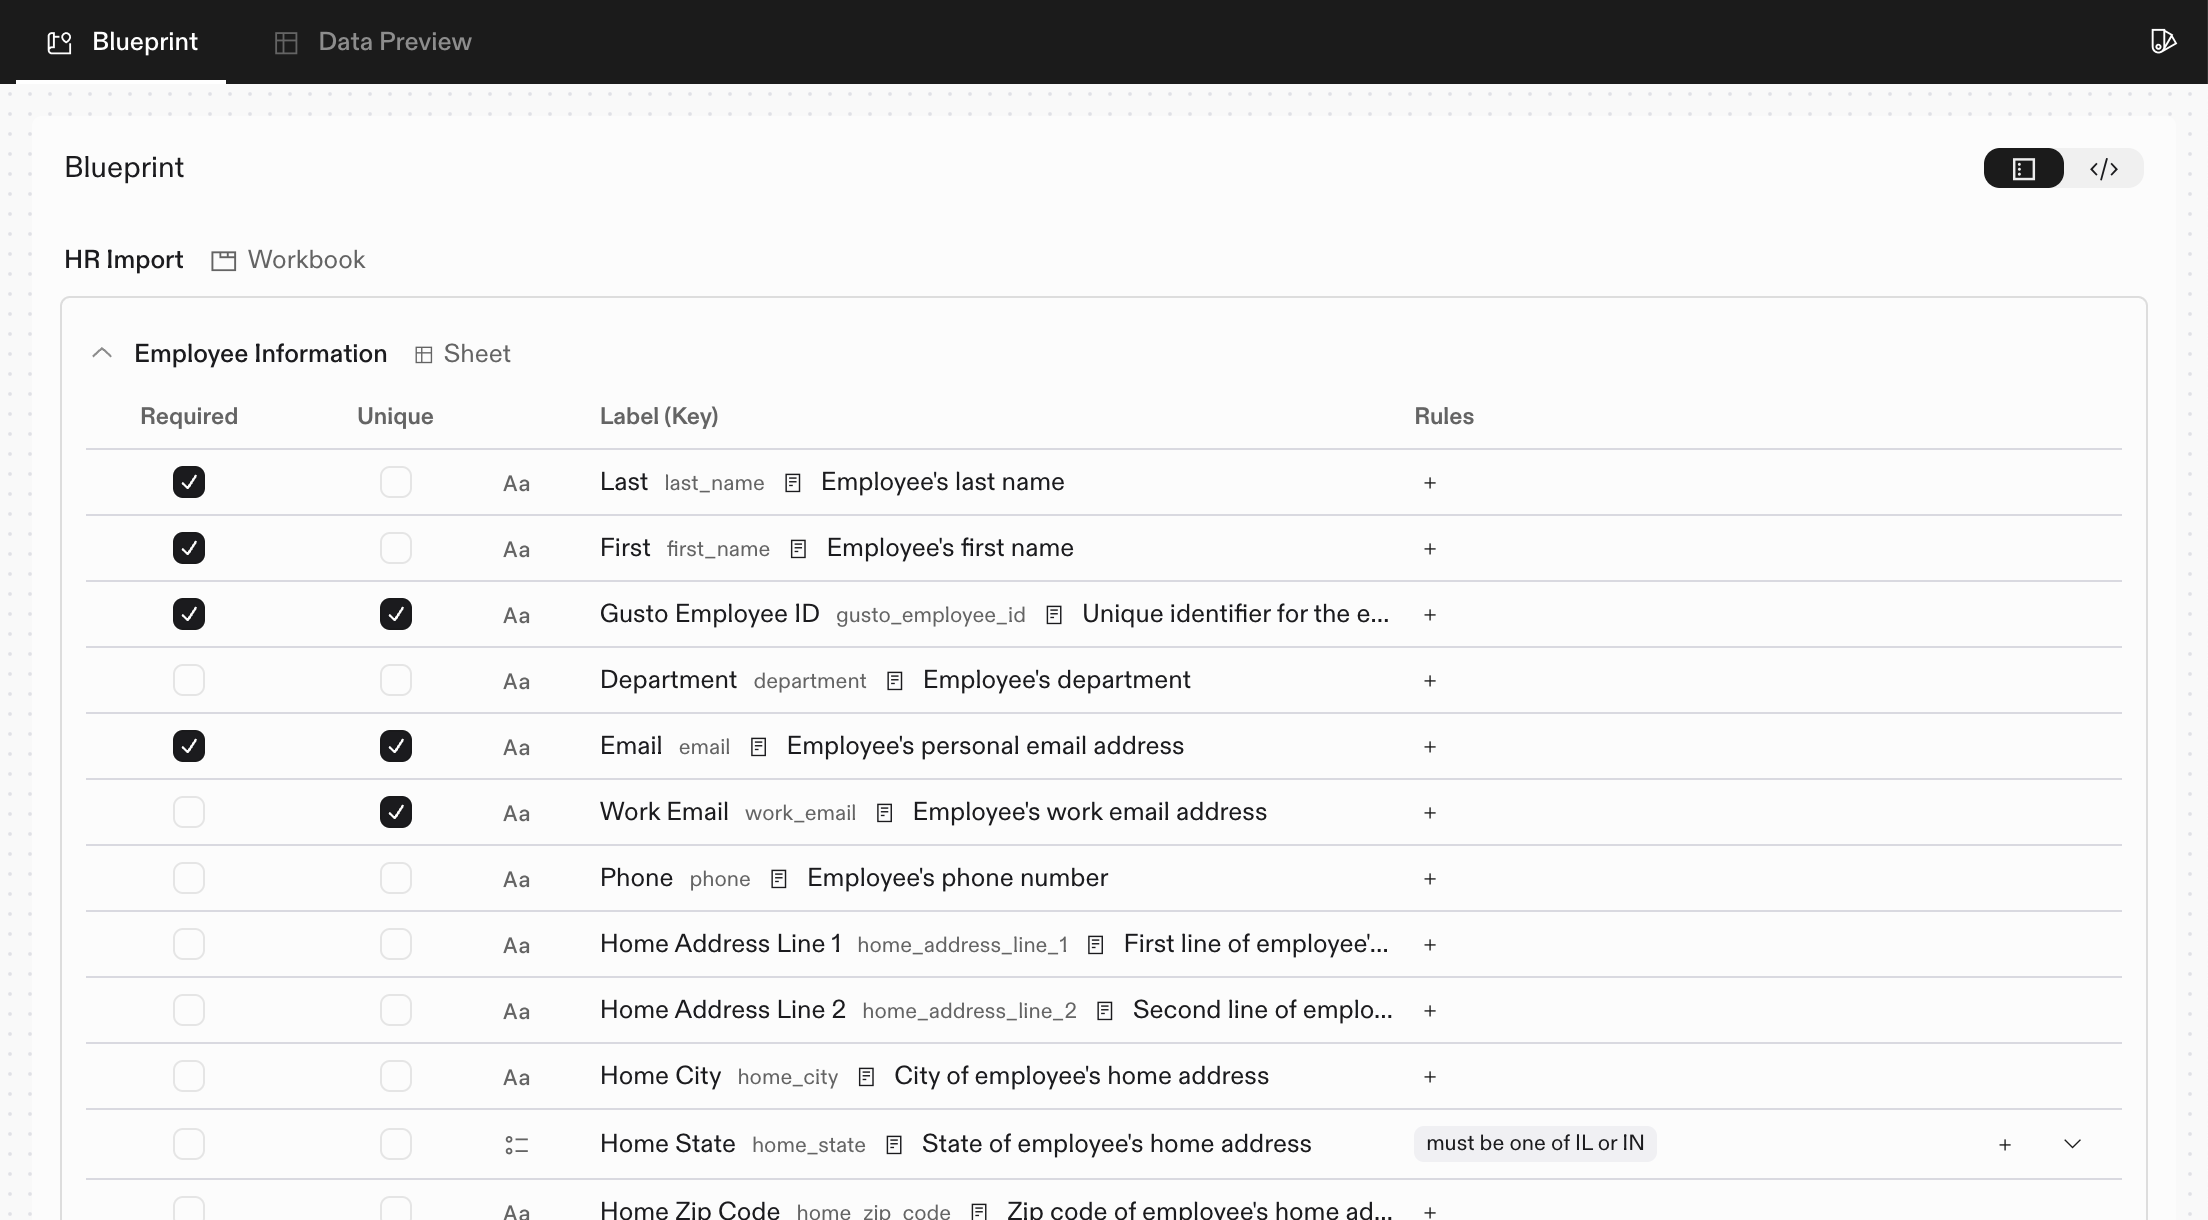
On the right side, you'll see the blueprint of your space. Here you can inspect and edit the sheets
and fields that the AutoBuild agent has generated. You can easily add or remove fields,
update constraints and validations, or make other basic edits to your blueprint.
Then select "Build with AutoBuild."
If the AutoBuild option isn't available on your account, please reach out to
support via [Slack](https://flatfile.com/join-slack/) or
[Email](mailto:support@flatfile.com) to gain access!{" "}
## Uploading Files and Context
Next, you'll upload files and provide additional context to the AutoBuild agent.
You can upload any of the following to help the AI understand your requirements:
* Import templates
* System documentation
* Complete data files
* Any other files that provide useful context
You may also provide an additional prompt to guide the AutoBuild agent. Use this to give
context about your uploaded files, explain specific data challenges, or outline additional requirements.
When you're ready, click "Get Started." The Flatfile AutoBuild agent will now build your space template.
## Working in Build Mode
After a few moments, you'll be taken to your new Flatfile app in Build Mode, which you can
access anytime to make changes.
On the right side, you'll see the blueprint of your space. Here you can inspect and edit the sheets
and fields that the AutoBuild agent has generated. You can easily add or remove fields,
update constraints and validations, or make other basic edits to your blueprint.
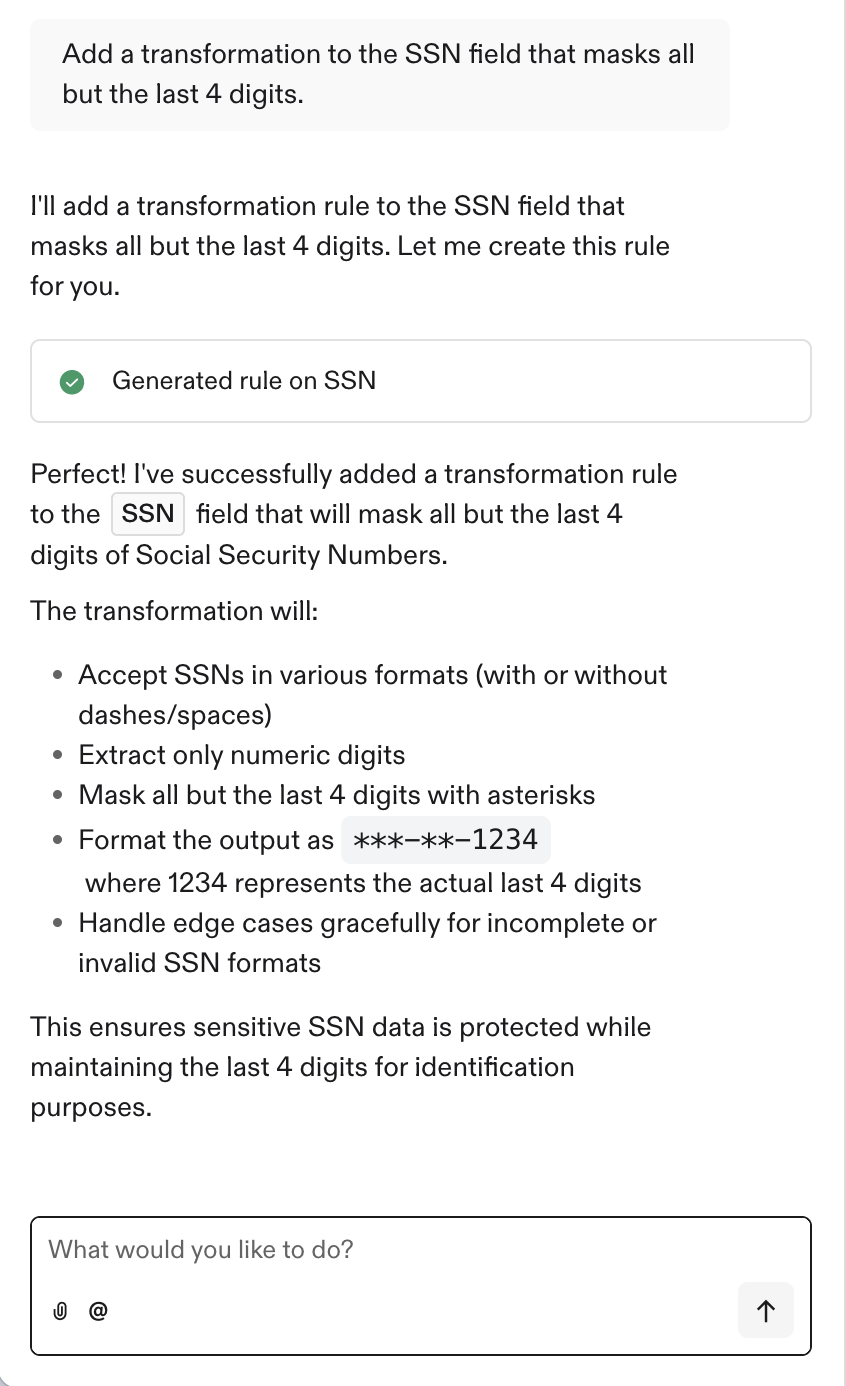
 For more advanced changes, you can chat with the Flatfile Assistant. The Assistant can help you
with anything from small tweaks to complex validations, data egress actions, or large reorganization
of your sheets.
For more advanced changes, you can chat with the Flatfile Assistant. The Assistant can help you
with anything from small tweaks to complex validations, data egress actions, or large reorganization
of your sheets.
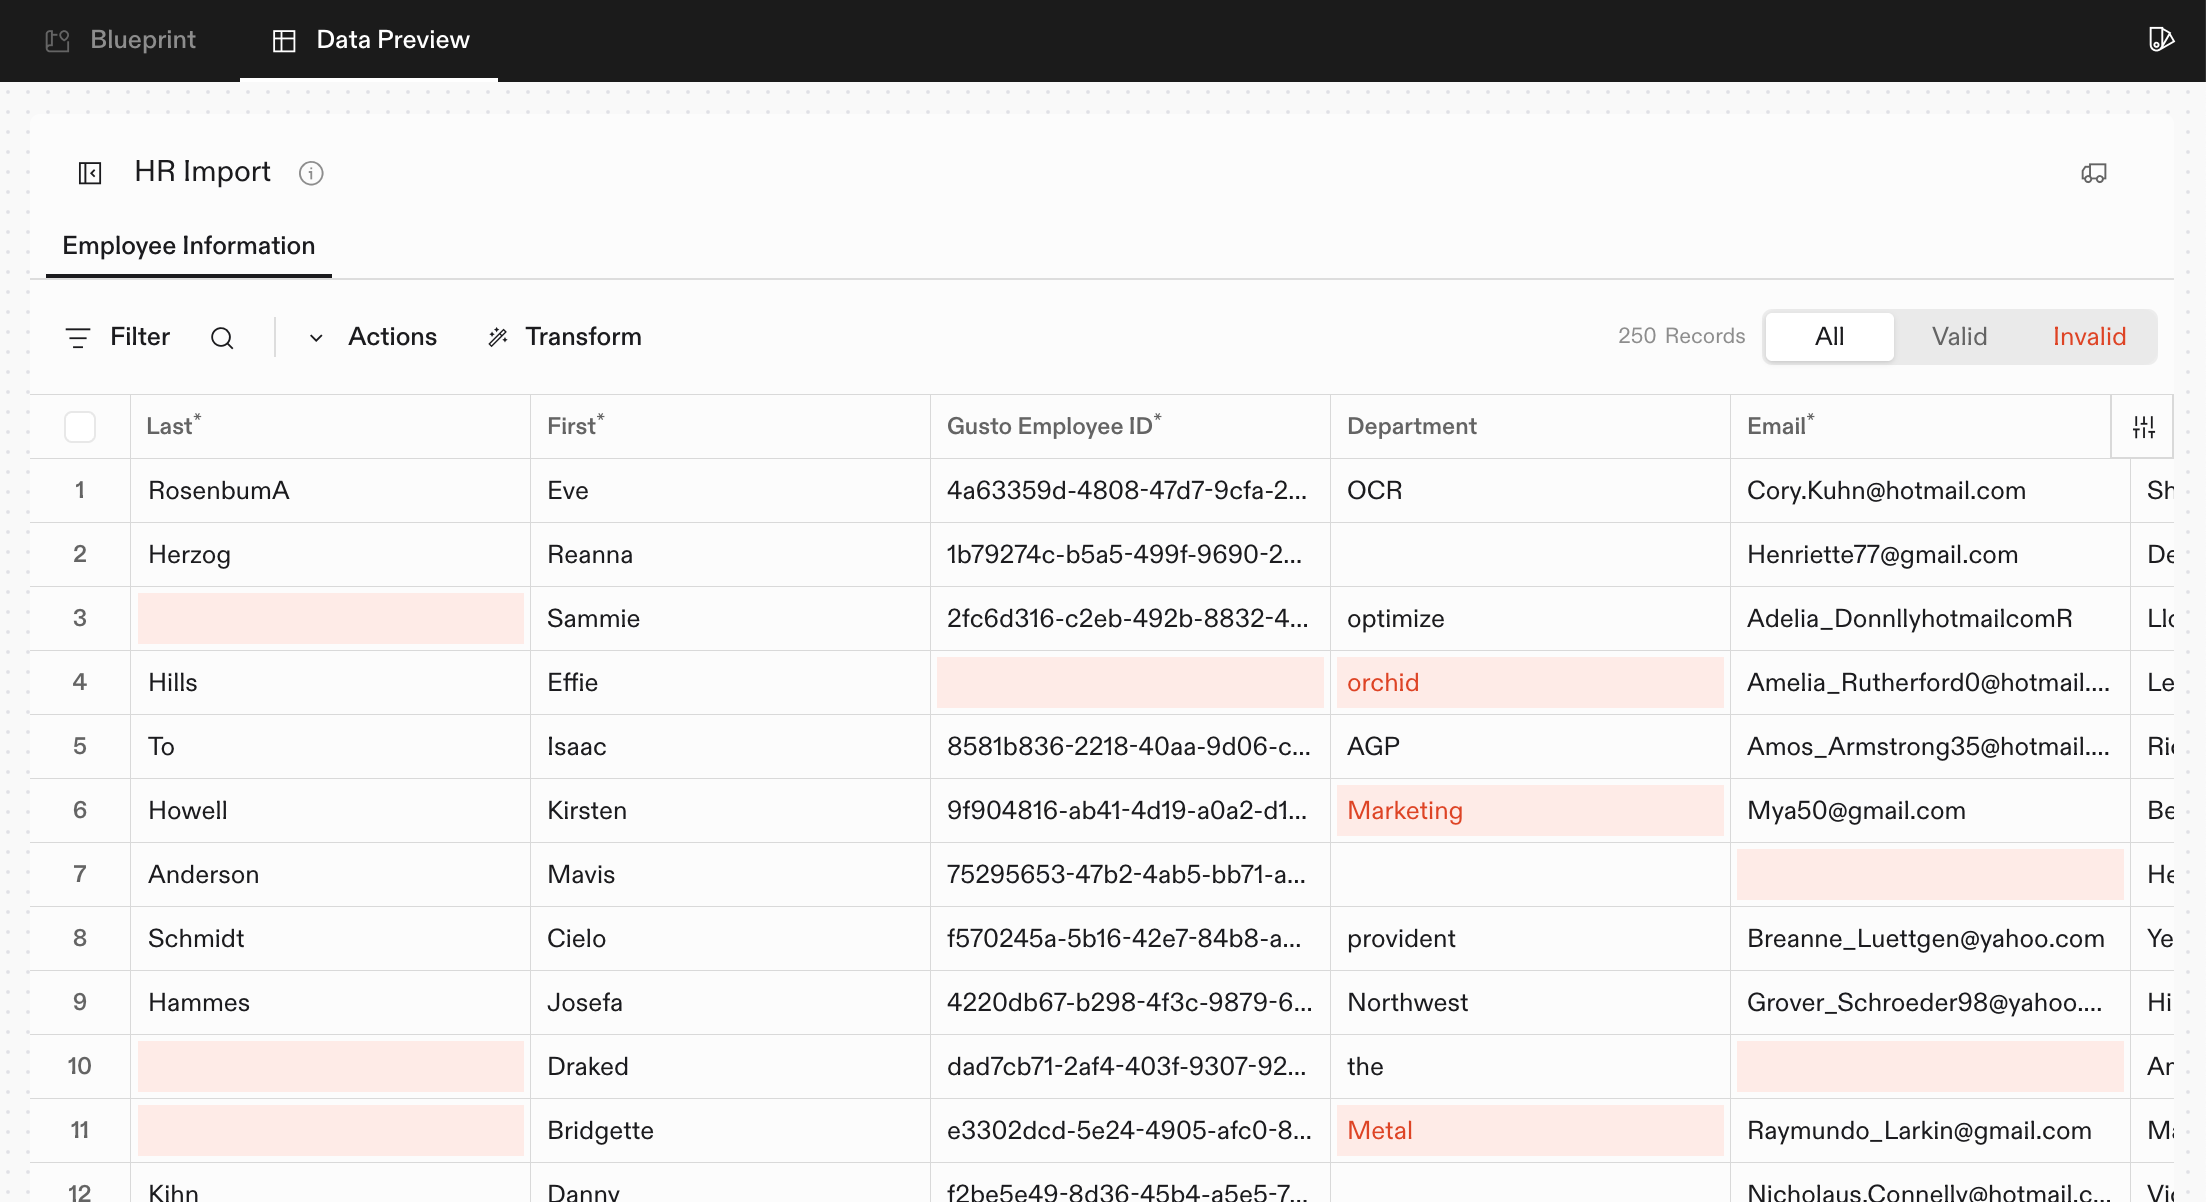
 At any point, you can check the Data Preview tab to see what your Flatfile project will look like for
your users. You can add or edit data to test your validations and transformations.
At any point, you can check the Data Preview tab to see what your Flatfile project will look like for
your users. You can add or edit data to test your validations and transformations.
 ## Deploying Your App
When you're finished building your space, click "Configure & Deploy."
You'll be prompted to give your app a name, and then it's ready to be deployed!
From here, you'll be taken to your new app in the dashboard.
Your autobuild agent is deployed and you're ready to create your first project and start importing data!
## Deploying Your App
When you're finished building your space, click "Configure & Deploy."
You'll be prompted to give your app a name, and then it's ready to be deployed!
From here, you'll be taken to your new app in the dashboard.
Your autobuild agent is deployed and you're ready to create your first project and start importing data!